
A strong core is an important component of good health. This calisthenic ab workout produces positive results, creating a firm and defined abdominal wall and a lower back that is injury-resistant.
To say that your rectus abdominis is a helpful muscle group would be a masterpiece of understatement.
Your abdominal muscles are your body’s powerhouse. They are the foundation of a healthy, aesthetic, and highly functional physique.
These calisthenics exercises can be modified to match your age, unique fitness level, and circumstances.
Do these once each week after your warm-up.
See the video lower within this article to understand how each calisthenic should appear in action.
How to Get the Best Results from this Calisthenic Ab Workout
It’s a wise idea to be intentional when performing ab work. I have some tips that might prove helpful to you:
- The trick to developing core strength is isolating your abdominals during core exercises.
- Resist the temptation to use the swinging momentum of your limbs to create movement.
- Instead, movement can be initiated from the center of your torso by first contracting that specific area’s muscle fibers.
- You begin each calisthenic by drawing your navel in – flat to your spine. (And not just the area of your waistline but also the lower abs – below your navel and above your pubic bone.)
- Imagine your lower abdominal plate as an upside-down triangle that serves as a bulletproof plate to encase and protect your vital organs!
- Instead of allowing your lower abs to spill out, pull the area in – tight towards your tailbone. That way, your entire core will be strengthened (and not just the upper abs).
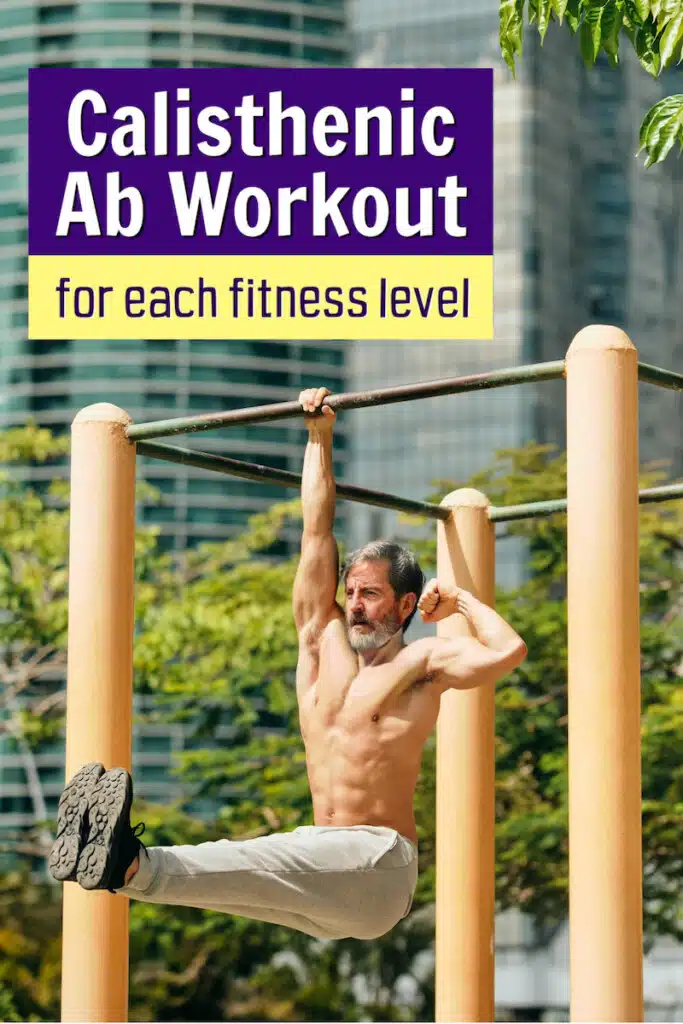
What Is a Calisthenic?
The word “calisthenic” can have different meanings depending on the context. For this workout, calisthenic means any highly effective abdominal exercise that uses your body weight for resistance and does not require springs, cables, bands, ball, dumbbells, wheel, or barbells.

In a calisthenic, you work from the inside out, asking:
- what do I need to do within my physique to make this movement safer?
- what do I need to do within my body to achieve better results in the targeted area?
Set and Rep Schemes
Here’s how many sets (a set is a group of consecutive repetitions) and reps to do, depending on your current strength level:
- Beginners: for each exercise, do two sets of 8 reps.
- Intermediates: for each exercise, do three sets of 10 reps.
- For advanced-level athletes, do three sets of 12 reps – plus, continue through the end of the final bonus section with the dragon flag and hanging exercises.
Calisthenic workouts can be adapted to suit various fitness levels, ages, and circumstances. Here are ways to modify calisthenic exercises.
Modify Exercise Difficulty:
- Easier Options: Replace advanced exercises with simpler variations. For example, doing a plank with your knees touching the mat.
- Progressive Versions: Once you’re comfortable with basic exercises, progress to advanced variations.
Use Proper Form:
- Focus on maintaining correct form to prevent injury and maximize effectiveness. Pay attention to body alignment, posture, and controlled movements.
Rest Periods:
- Adjust the rest intervals between sets to match your fitness level. Beginners might need longer rests, while advanced individuals can shorten them for a more intense workout.
Range of Motion:
- Modify the range of motion based on your flexibility and mobility. Gradually work on improving your flexibility to increase your exercise range.
Intensity Levels:
- Increase or decrease the intensity by adjusting the speed of your repetitions.
Age Considerations:
- Seniors should focus on exercises that improve balance, flexibility, and strength while avoiding high-impact movements.
- Ensure that movements are joint-friendly and don’t exacerbate any existing medical conditions.
Progression Tracking:
- Keep a workout journal to track your progress. Adjust your routines periodically to ensure continuous improvement.
Remember that consistency is key, and finding a balance between challenging yourself and ensuring safety during your calisthenic ab workout is essential.
Combine Ab Workouts with an Anti-Inflammatory Diet for Exponential Results
A strategic, highly nutritive eating regimen is – hands down – the best way I know to dramatically and permanently improve health and appearance. I sell a digital course that walks you through that process step-by-step.
If you ever wondered what it would be like to have a narrow waist and an abdominal wall that reveals definition in the muscles – “shredded,” as the kids say – then you can combine an advanced-level anti-inflammatory diet with your ab workouts.
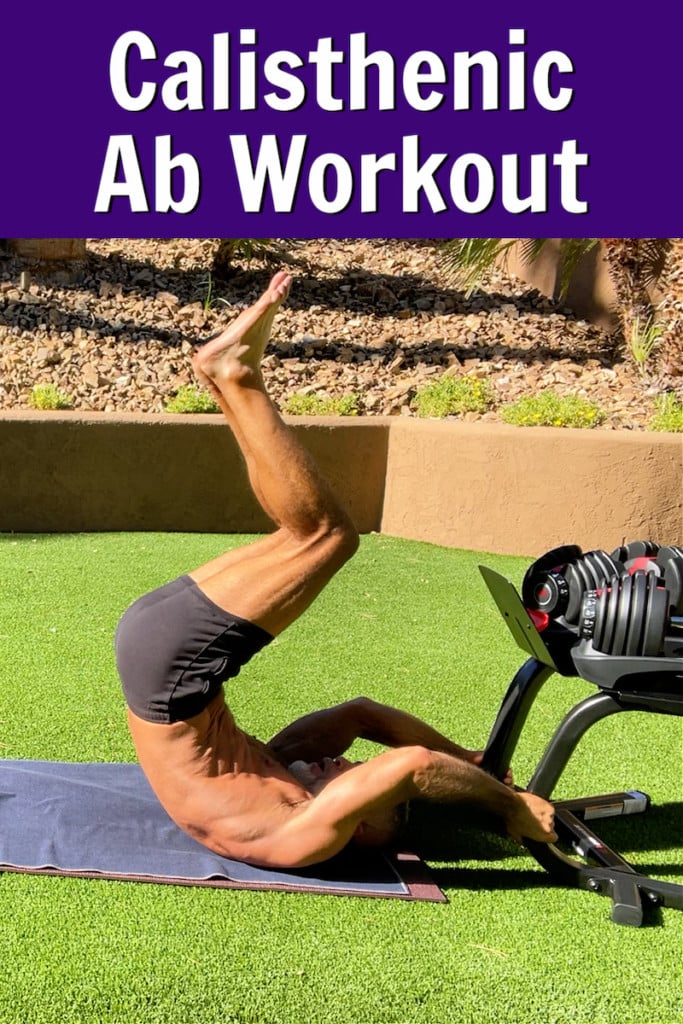
Best Calisthenic Ab Workout:
Try these calisthenics exercises for abs. Remember, if you feel pain anywhere during an exercise, stop immediately. It’s okay for a workout to feel uncomfortable but not painful. There’s a difference.
I encourage anyone – and those over the age of 50 especially – to consult with a medical doctor before beginning a new exercise program.
Standing Bicycle Calisthenic
The starting position for the first exercise is to stand upright with feet shoulder-width apart. The purpose of the standing bicycle calisthenic is to safely prepare your body for the more strenuous exercises that come later on.
You’ll likely be tempted to fold your elbow across your face. But when you touch your elbow to the opposite knee, you want to accomplish that by rotating your spine (not folding your elbow forward).
Leg Figure-8
This move begins in a jackknife position, in which you sit up in a V-shape, holding your legs out in front of you up in the air, feet together, and moving them in a tight figure-8. The movement will utilize your lower abdominals as it strengthens your hip flexors. Reverse directions.

Elbow-Supported Plank with Heel Raise
There are two primary ways to adopt a prone plank position:
- The first is to support yourself from bent arms, in which your forearms and elbow joints help to brace. This type of plank position makes a good entry into planking.
- The second is to support yourself with palms and straight arms. This plank position is a bit more advanced, which is why it comes a bit later.
This elbow-supported plank with heel raises is a subtle movement. The idea is to create a perfectly formed plank while moving the heels forward and back to create a bit of destabilization.
Elbow Supported Plank with Hip Swivel
Same positioning as above, only this time your turn the destabilization up a notch – slowly swiveling the hips to either side. You must keep the pelvis slightly scooped forward to protect your lower back adequately.
Single Straight-Leg Stretch
This is a classic Pilates exercise that works deeply. Keep your spine long, your lower back bolted to the ground, and press your shoulders away from your ears as far as you can.
The 4-Limb Plank
Lift a limb one at a time: leg, leg, arm, arm. Reverse directions.
The challenge is keeping your pelvis at a centered height – not so high that your abs aren’t working, not so low that your lower back is swayed.
Cobbler Crunch
Drop your knees open and press the soles of your feet firmly into one another. Bolt your lower back to the ground and crunch up with a long spine and compressed rib cage. Pause for one full second at the top of each rep!
The genius of crunches in a cobbler or frog position is that it takes the quads and hip flexors out of it (your quadriceps are exercise hogs and will do all the work if you let them)!
Bird Dog Plank Variation
The opposite leg and arm lift at the same time.
Try to maintain perfect plank positioning, and when you lift that arm, lift it a little higher than what feels comfortable.
Double Straight-Leg Stretch
Another Pilates exercise that works wonders.
Focus on your lower abdominal plate for this exercise, and never let your lower back arch up off the ground.
If you’re an intermediate or advanced-level athlete, add a little tuck-up of the tailbone at the top of each rep (that’s when your tailbone lifts a fraction of an inch while your abdominal wall pulls down flat and hard at the same time).
Traditional Bicycle Calisthenic
Sometimes the classics are classic for a reason! Check out the video:
Just like with the standing bicycles, you want to refrain from folding the elbow across your face. Keep that elbow pulled back even as you rotate your spine.
Side Plank with Dip
The movement is subtle yet deep.
Remember to make your body as long as possible (you don’t want thick obliques).
Do each side.
1-Minute Plank Hold
A classic exercise.
Planks are better than crunches because the primary purpose of your core is not forward flexion but rather to stabilize. Planks do this perfectly.
I’m not saying crunches don’t belong in your workout; I’m just saying that planks are even more important and effective.
Standing Crescent
This exercise aims not to stretch your obliques but to strengthen them.
It’s all about your form:
- Create the longest spine you can as you bow to the side.
- Bow, not fold. The curve is not deep; it’s long.
- Keep your pelvis centered and hold for one minute on each side.
Double-Leg Lift for Lower Oblique
Keep those feet bolted together as you use the power of your lower oblique muscle to lift the legs a bit.
Pull your belly button as tightly as possible and activate your buttocks.
Do each side.
Roll-Up Calisthenic
This is a gymnastics staple. A fantastic exercise for putting power into your abs and flexibility into your spine.
Focus only on using your abdominals to move – not momentum and not your legs.
Bow Pose with a Towel
A core workout isn’t complete until you also strengthen your lower back muscles. Your lower back is part of your core!
Hold for one minute as you breathe.
Important: “mate” your pelvis into the ground to protect your lower vertebrae.
If you’re super bendy, you might not need the towel. But if you have developed chest muscles, the towel will be helpful.
End this exercise with a gentle prayer stretch.
Bonus Advanced Exercises!
The remaining exercises are for the more ambitious athlete.
Proceed cautiously.

Dragon Flag Calisthenic with Bent Knee Raise
If you’re super strong, you might not need to hold on to anything to do Dragon Flag exercises. In that case, you can keep your arms braced by your sides – palms flat and facing down.
For the rest of us mortals, it’s helpful to hang on to something secure and heavy.
Dragon Flag Roll-Up with Open Legs
For this variation, you roll up with bent knees together again; however, when you get to the top, you straighten your legs with pointed toes, open the legs, then roll down gradually as you keep your core tight and articulate your spine.
Dragon Flag with a Perfect Plank
In this variation of the dragon flag, your legs are straight the whole time. What makes this exercise difficult is the speed at which you execute each rep: go slowly.
Optional: Hanging Knee Raise Calisthenic
If you have something from which to hang – such as a pull-up bar, playground monkey bars, or even a secure tree branch – you might find that the hanging knee raise is the perfect ending to a calisthenic ab workout. Whatever juice you have left in your abs will be squeezed out by the time you’ve completed this last calisthenic.
To complete your workout, I recommend a few stretches or a foam rolling cool-down to help prevent undue tightness and soreness the following morning.