How to determine if the Pilates reformer is worth putting in the gym area inside your home – plus examples of the type of workouts you can do on the apparatus.
Many people wonder if a Pilates reformer should be included in the design of their home gym. Some of the questions I’m asked include:
- “Is it worth the investment?”
- “Is it worth taking up the limited space available in my home gym?”
- “What kind of workouts can I do on a Pilates reformer?”
I answer those questions below.
Lower within this article, I also include a printable list of Pilates equipment and an example video of me doing a Pilates workout in my home gym.
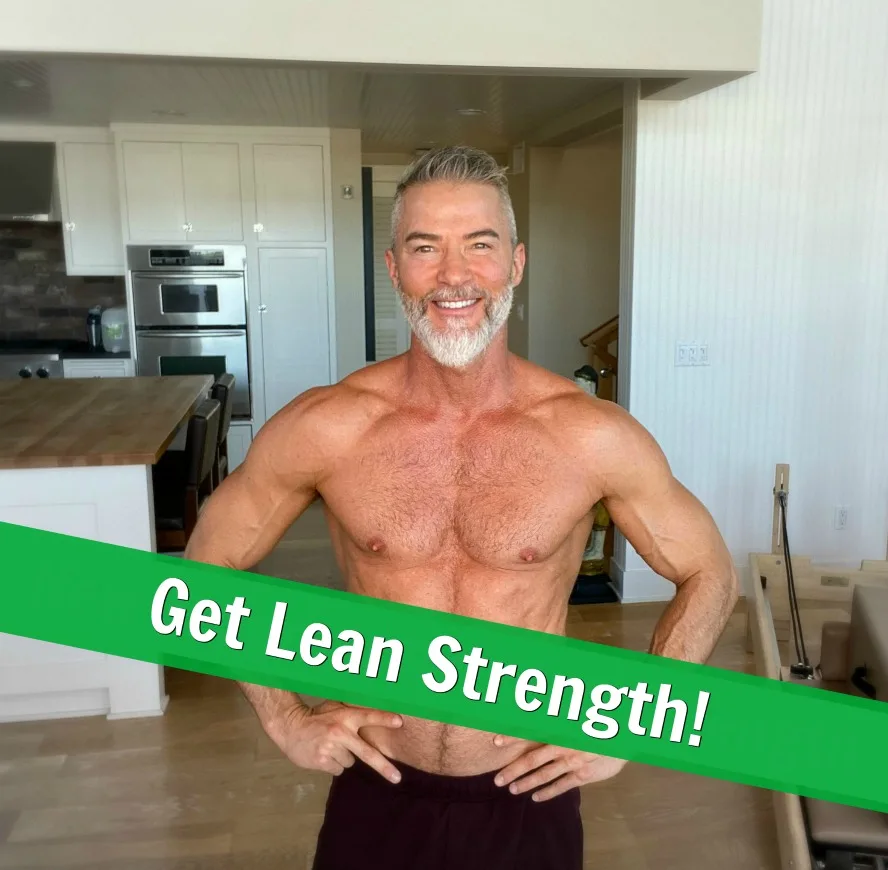
I’m 58 years old and find Pilates extremely helpful for strengthening the all-important core muscles – my body’s powerhouse – and keeping my thighs firm, joints supple, and my spine flexible and long.
If you are over the age of 50, I encourage you to do at least one mobility training session per week – whether it’s Pilates, swimming, yoga, or 30 minutes of flexibility drills with a foam roller.
After age 50, workouts are not just about reducing body fat but also about longevity.
Pilates can be excellent for both men and women, and the exercises can be modified to match any age or level of fitness.

Longevity means extending the number of healthy years in your lifespan.
Longevity means that, when you are 80, you can still go for a long, enjoyable walk.
How to Create a Pilates Fitness Area within Your Home
You don’t need a lot of equipment to create a Pilates-inspired fitness area in your home. In fact, you really only need a mat and magic circle, since the foundation of Pilates is based on mat work. You might also get two resistance bands (one open, one closed) and a foam roller. All of these items can be obtained for under $100 total.
If you really want to go all out, you can get a Trapeze Table, though this is the most expensive piece of Pilates apparatus available and completely optional. Most people do not need this.
The Pilates Wunda Chair is my personal favorite and is less expensive than the Pilates Reformer. However, the Reformer is the piece of Pilates equipment that most people desire, so – even though the reformer is more expensive than the chair – this article focuses on the Reformer. It’s famous for a good reason! It’s fun to use, easier to learn than the Chair, and (when done correctly) produces stellar results in your health and physique.
Investing in a Pilates Reformer
I’m one of those people who are more likely to use something if I pay more for it.
Strange, I know. But that’s how my mind works.
So I chose a high-quality reformer knowing that if I was going to pay for a fancy piece of apparatus for my home gym, I was damn well going to use it. This would then also mean – in the long run – I would receive more value from my purchase.
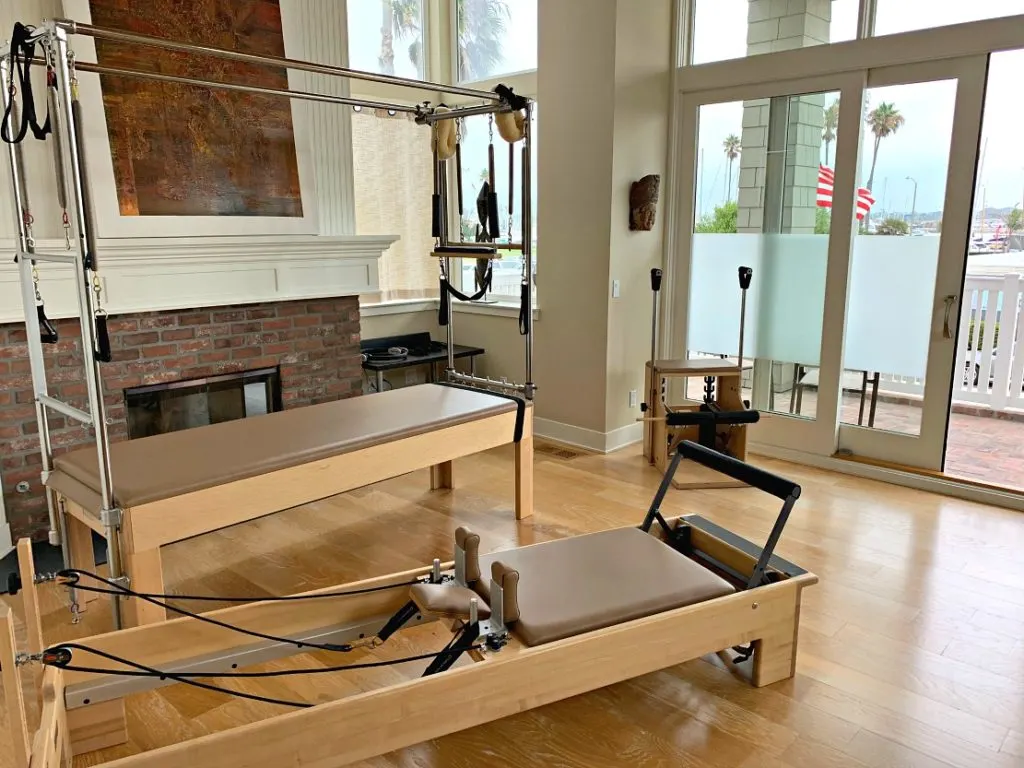
The reformer I most desired was pricey, so I waited until it was discounted during a Holiday Sale.
There are several good brands of Pilates equipment. Over the years, I’ve tried them all extensively – in both a commercial gym and studio setting – so I already felt qualified to choose my favorite among those.
I paid $2,971 for my Balanced Body reformer with free shipping, which I ordered online directly from the manufacturer. Other popular quality brands include Gratz and Stott. Several more brands are less expensive.
My advice is to consider a reformer that sits higher up off the floor (some models sit only a couple of inches up off the floor) and one that is mostly wood (some models are mostly metal, which is noisier and can be problematic in humid environments).
What You Need to Create a Pilates Home Gym
You can turn your home gym area into a Pilates studio!
The Pilates apparatuses shown here are listed in order of importance.
Instructions
Here is a list of equipment you can get to help make your home gym area into a Pilates studio:
- Mat. (Many people don't realize that the foundation of Pilates exercise is the mat work.)
- Magic Circle. (This simple resistance-ring can help strengthen the entire body.)
- Resistance Bands – One Open, One Closed. (Bands are not strictly considered "classical" Pilates, but they have become a helpful part of the modern Pilates workout.)
- Long Foam Roller. (Again, not classical Pilates, but very helpful.)
- Wunda Chair. (The least appreciated apparatus. Many people avoid it, but when used correctly, the Chair is extremely effective.)
- Reformer. (This is the apparatus that mostly everyone thinks of when they think of Pilates.)
- Trapeze Table. (Also called the "Trap Table" or "Cadillac." The most expensive Pilates apparatus. In a commercial Pilates studio, this is often the trainers' and clients' most favorite.)
- Barrel. (There are several variations of the barrel – the Big Ladder Barrel, the Small Step Barrel, the Arc, the Spine Corrector, etc. Having a barrel is completely optional. It's possibly the least used piece of Pilates equipment – nice to have, but not mandatory.)
- Additional Props. (Think of these as "extra credit" items. Rotator disc, ball, pole, Pedestal-Pull, etc. All of these are optional. Among all apparatuses in this list, these are the least necessary.)
There are other differences between the brands – such as the number and type of resistance springs used or the variable adjustments with the foot bar.
If you were to use your reformer for only one year, once each week, it would cost you $57 each time – already that is less than the cost of working with a private Pilates trainer at their facility. If you were to use your reformer twice a week for 10 years that would cost you $2.86 per workout.
My reformer is a beautifully constructed, high-quality apparatus that can (in theory) last me the rest of my life.
Looking back, I think it was indeed wise for me to get the best. It could mean that after only 10 years, it will have been a solid investment in my self-care.
Since purchasing it five years ago, I’ve received joy and health benefits from my reformer. However, it does not fit everyone’s lifestyle or budget. For example, if you plan to relocate every few years, having to disassemble and reassemble the reformer might become trying.
Space Requirements for a Reformer
My reformer bed is 89 inches long and 26 inches wide.
It’s good to have a couple of feet of extra space along the sides and the end of the reformer. Less extra space is needed at the top of the reformer.
The Story of the Reformer
The reformer apparatus was invented during World War I in an internment camp for Germans in the UK. Joseph Pilates – already an exercise enthusiast and expert at a young age – crafted a sliding bed using bedsprings as resistance.
Pilates was inspired to create the moving bed while working as a nurse in the camp, helping the injured rehabilitate.
After moving to America, Pilates was able to further develop and refine the reformer in his New York City exercise studio.
Today, the moving part of the reformer is called the “carriage.” Resistance springs attach the carriage to the frame.
Does getting a reformer sound daunting? Here are some other possible Pilates options:
- If you have limited space and are concerned that a reformer might be too big, consider instead a Pilates Wunda Chair. It takes up far less space (and costs less money). For most Pilates athletes, the reformer is their favorite piece of equipment, and if they could only choose one piece of apparatus, they would choose the reformer. For me (though I do love my reformer), the Chair is my absolute favorite.
- If you have almost no extra space whatsoever, you can also get a simple Pilates Magic Circle – it’s a simple resistance ring that accomplishes a great deal.
- If you have no extra money in your budget, you can do a fantastic pilates workout with no fancy equipment required. The world-renowned mat sequence is a highly effective program that can be done simply on a carpeted area (or mat) in your home.
A Pilates Workout Example on the Apparatus
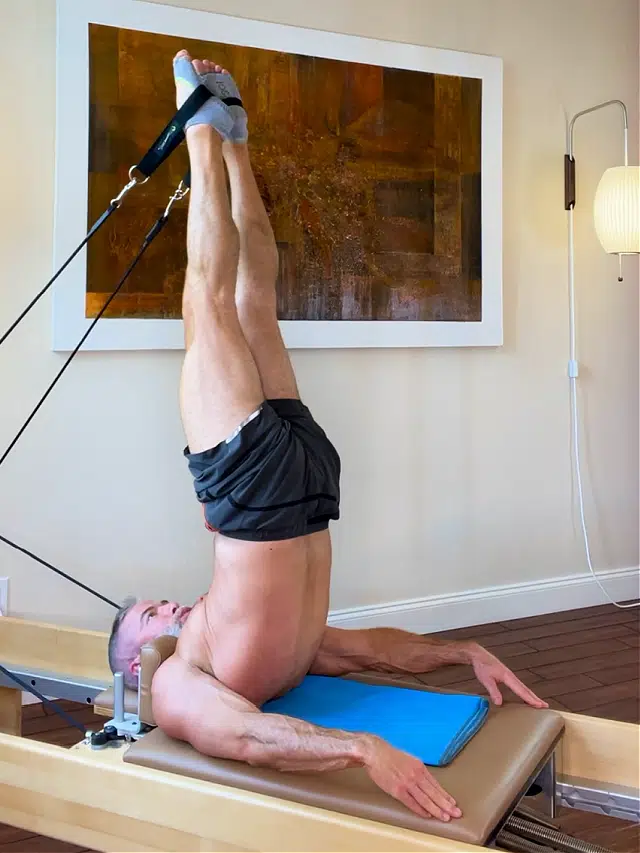
In the video above, you see an example of the type of workout that can be done on a Pilates reformer.
That workout can be considered intermediate-level. It’s inspired by a classic Pilates sequence. I’ve left out a few exercises intentionally – such as the Teaser and Splits Series – because they require detailed instruction that is beyond the scope of this particular article.
If you get a reformer for your own home gym, you still might want to have at least a few private sessions with a qualified Pilates trainer who can help you with:
- breathing patterns
- the number of repetitions for each movement
- resistance load (the number of springs to use)
- foot bar settings
- the “why” behind each exercise
- how to engage specific muscle groups intentionally
The sequence you see me doing in the video is abbreviated and demonstrates:
- Foot Series (4 exercises)
- Hundred
- Frog and Leg Circle
- Short Spine Massage
- Coordination
- Pull Straps and T Straps
- Backstroke
- Up/Down Stretch Series (3 exercises)
- Elephant
- Stomach Massage Series (4 exercises)
- Short Box Series (3 exercises)
- SemiCircle
- Knee Stretches (3 exercises)
- Running
- Pelvic Lift
Some Tips for Your Own Pilates Workouts
- Pilates movements initiate from the core. A key piece of core work is learning to compress your ribcage (as opposed to extending it). This is particularly important for the top rib, which – when popped up – tends to turn off the upper abdominal muscles.
- Your legs will do all the work if you let them – particularly your quadriceps muscles. Instead of pushing off the foot bar using the power of your quads, imagine instead pulling away from the bar using your pelvic muscles and inner thighs (like you’re trying to zip into skinny jeans).
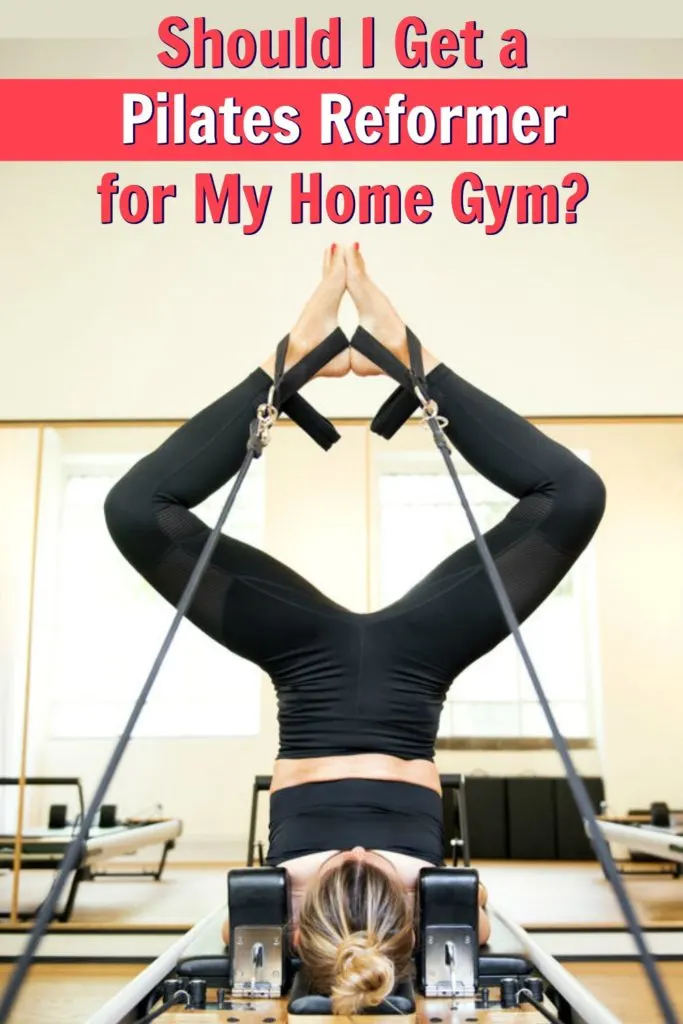
- Think length. During each movement, see if you can make your spine and neck a little longer. Decompress your body!
- It’s tempting to mimic movements from the outside-in. “Making shapes,” they say in Pilates, is considered a less-than-ideal technique. Instead of making shapes with your limbs, imagine the reason behind the movement. What muscles are engaging? From what areas does the movement initiate muscularly? Make your movements from the inside out.
IDEA: not yet ready to create your home gym? Consider pinning this article to your Vision Board!
Leg Day: A Lower-Body, Functional-Training Workout • Over Fifty and Fit
Saturday 4th of January 2020
[…] to loosen stiff hips with this first squat. Hold the kettlebell at your upper chest. If your knees are tender and you don’t want to squat below knee level, use a bench or box below your […]
What Will Life Be Like in the Future? • Over Fifty and Fit
Monday 9th of September 2019
[…] also talk about how to increase daily quality of life and how to extend the human lifespan, and how what we think of as “holistic health” is […]
Life Detox: Everything you Need To Know about Bouncing Back
Monday 2nd of September 2019
[…] cross-functional fitness can solve a lot of […]
4 Ways to Begin Living the Longevity Lifestyle Immediately • Over Fifty and Fit
Sunday 1st of September 2019
[…] But if I ask them to imagine themselves waking up in the morning 10 years from that very moment – to pause, close their eyes, and really, viscerally, feel that moment – then they usually make the connection. […]
8 Strategies to Increase Your Daily Stamina • Over Fifty and Fit
Saturday 31st of August 2019
[…] me, if it’s helpful, inspirational or related to healthy habits, I’m all […]